Create an Assumable Identity for a GitLab CI/CD Pipeline
Procedural tutorial outlining how to create a Chainguard identity that can be assumed by a GitLab CI/CD pipeline.
11 min read
For the complete documentation index, see llms.txt.
The Chainguard platform supports Single sign-on (SSO) authentication for users. By default, users can log in with GitHub, GitLab and Google, but SSO support allows users to bring their own identity provider for authentication.
This guide outlines how to create a Ping Identity Application and integrate it with Chainguard. After completing this guide, you’ll be able to log in to Chainguard using Ping and will no longer be limited to the default SSO options.
To complete this guide, you will need the following.
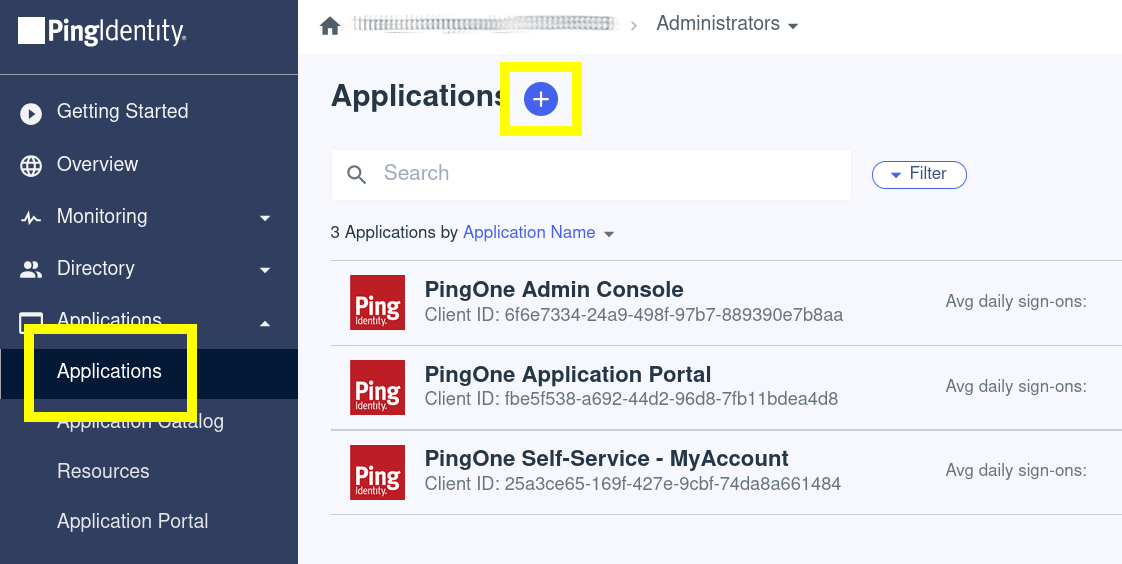
chainctl installed on your system. Follow our guide on How To Install chainctl if you don’t already have this installed.To integrate the Ping identity provider with the Chainguard platform, sign on to Ping Identity and navigate to the Dashboard. Click on the Applications tab in the left-hand sidebar menu, and then click on Applications in the resulting dropdown menu. From the Applications landing page, click the plus sign (➕) to set up a new application.
Configure the application as follows:
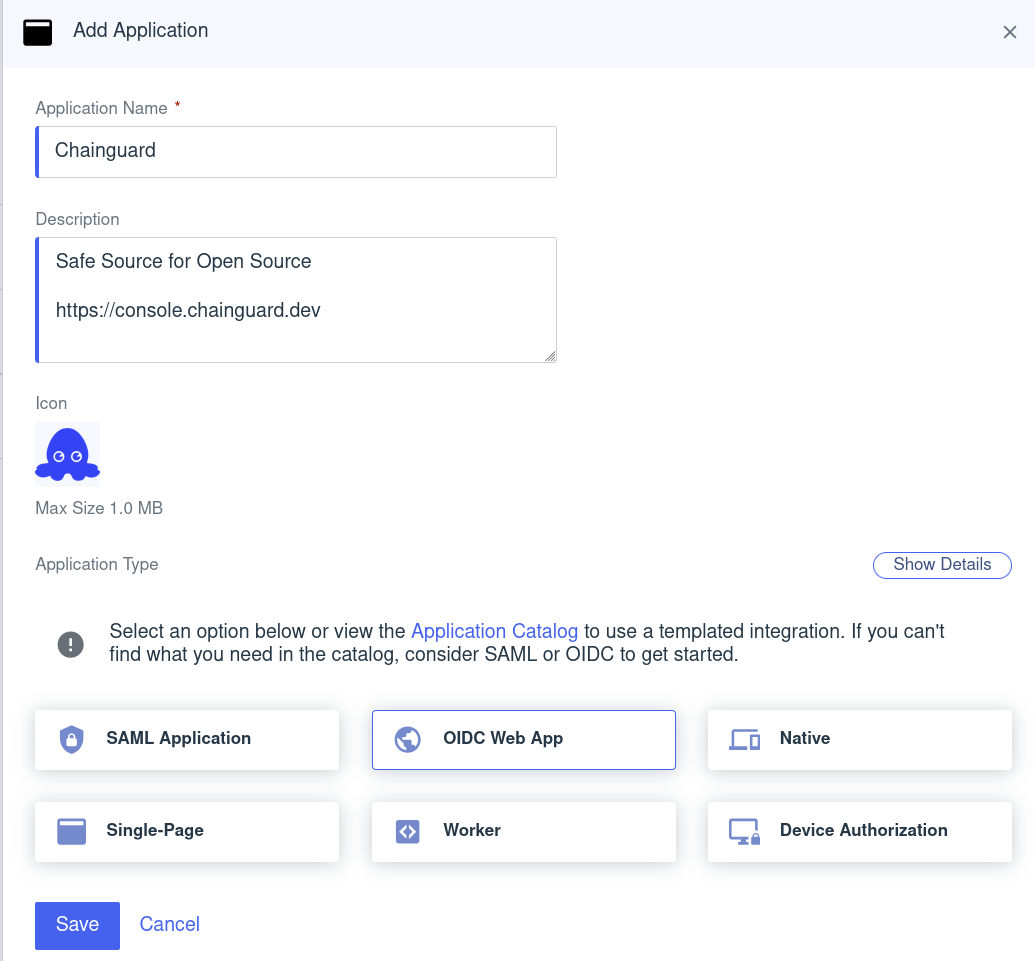
After setting these details, click the Save button.
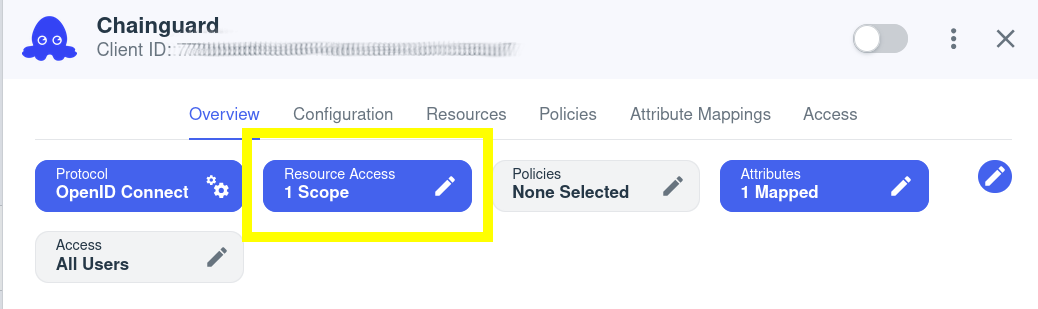
Next, configure scopes for the application. In the Overview tab, click the Resource Access scope button.
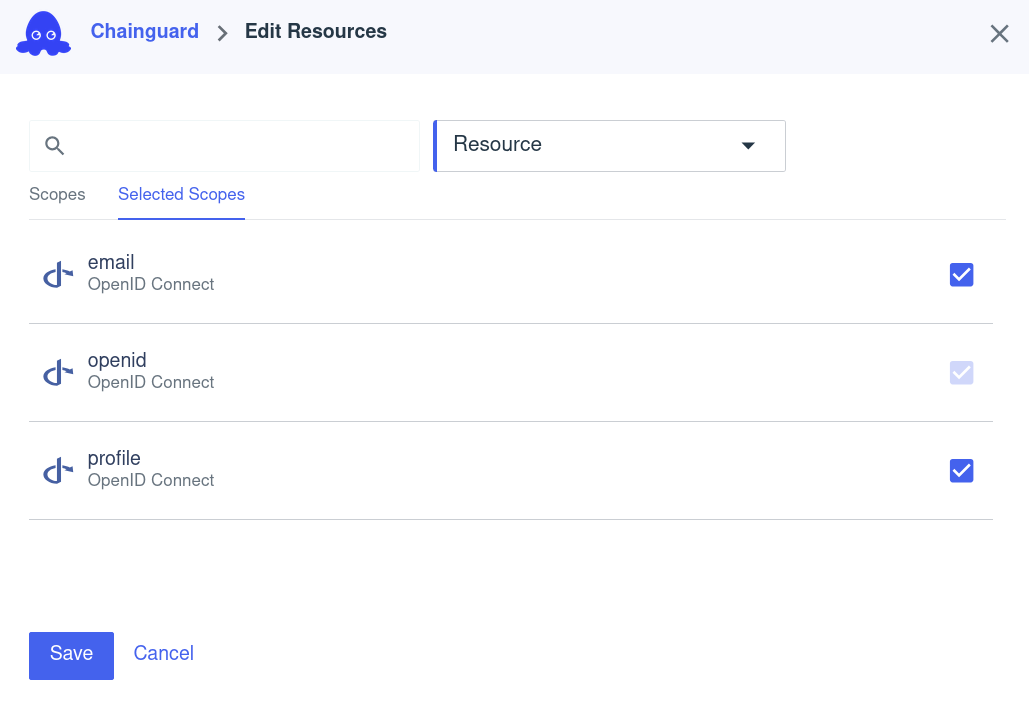
Add email and profile scopes, then save.
Next, configure the OIDC application. Navigate to the Configuration tab and click the pencil-shaped “edit” icon.
To configure the application, add the following settings.
Warning: Setting a grant type other than Authorization Code may compromise your security posture.
https://issuer.enforce.dev/oauth/callback.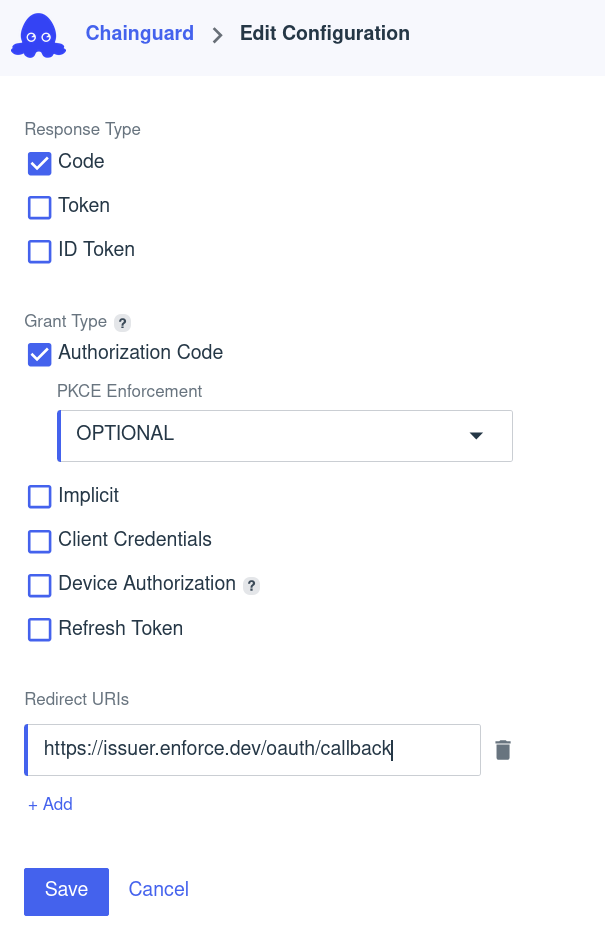
Click the Save button to save your configuration.
Finally, enable the Chainguard application by toggling the button in the top right corner.
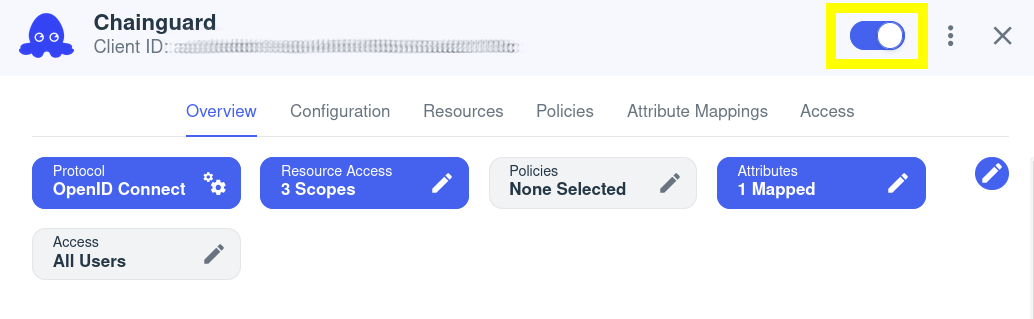
This completes configuration of the Ping application. You’re now ready to configure the Chainguard platform to use it.
Now that your Okta application is ready, you can create the custom identity provider.
First, log in to Chainguard with chainctl, using an OIDC provider like Google, GitHub, or GitLab to bootstrap your account.
chainctl auth loginNote that this bootstrap account can be used as a backup account (that is, a backup account you can use to log in if you ever lose access to your primary account). However, if you prefer to remove this role-binding after configuring the custom IdP, you may also do so.
To configure Chainguard make a note of the following settings from your Ping application. These can be found in the Ping console under the Configuration tab of the Application page.
You will also need the UIDP for the Chainguard organization under which you want to install the identity provider. Your selection won’t affect how your users authenticate but will have implications on who has permission to modify the SSO configuration.
You can retrieve a list of all the Chainguard organizations you belong to — along with their UIDPs — with the following command.
chainctl iam organizations ls -o table ID | NAME | DESCRIPTION
--------------------------------------------------------+-------------+---------------------
59156e77fb23e1e5ebcb1bd9c5edae471dd85c43 | sample_org |
. . . | . . . |Note down the ID value for your chosen organization.
With this information in hand, create a new identity provider with the following commands.
export NAME=ping-id
export CLIENT_ID=<your client id here>
export CLIENT_SECRET=<your client secret here>
export ISSUER=<your issuer url here>
export ORG=<your organization UIDP here>
chainctl iam identity-provider create \
  --configuration-type=OIDC \
  --oidc-client-id=${CLIENT_ID} \
  --oidc-client-secret=${CLIENT_SECRET} \
  --oidc-issuer=${ISSUER} \
  --oidc-additional-scopes=email \
  --oidc-additional-scopes=profile \
  --parent=${ORG} \
  --default-role=viewer \
  --name=${NAME}
Note the --default-role option. This defines the default role granted to users registering with this identity provider. This example specifies the viewer role, but depending on your needs you might choose editor or owner. If you don’t include this option, you’ll be prompted to specify the role interactively. For more information, refer to the IAM and Security section of our Introduction to Custom Identity Providers in Chainguard tutorial.
You can refer to our Generic Integration Guide in our Introduction to Custom Identity Providers guide for more information about the chainctl iam identity-provider create command and its required options.
To log in to the Chainguard Console with the new identity provider you just created, navigate to console.chainguard.dev and click Use Your Identity Provider. Next, click Use Your Organization Name and enter the name of the organization associated with the new identity provider. Finally, click the Login with Provider button. This will open up a new window with the Ping Identity login flow, allowing you to complete the login process through there.
You can also use the custom identity provider to log in through chainctl. To do this, run the chainctl auth login command and add the --identity-provider option followed by the identity provider’s ID value:
chainctl auth login --identity-provider <IDP-ID>The ID value appears in the ID column of the table returned by the chainctl iam identity-provider create command you ran previously. You can also retrieve this table at any time by running chainctl iam identity-provider ls -o table when logged in.
Last updated: 2024-10-28 15:22